Centos 7 VSFTPD Installation Initial configuration YouTube
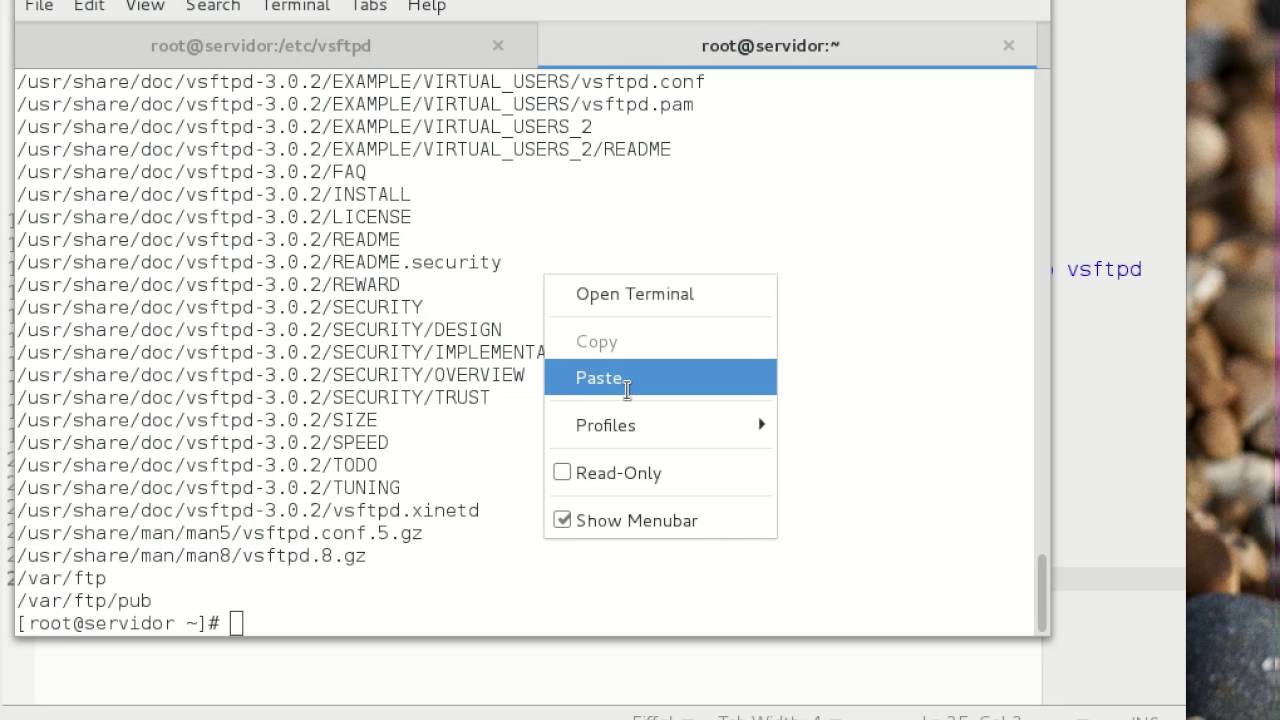
The main configuration file for vsftpd on CentOS is kept in the /etc/vsftpd/ directory. It is called vsftpd.conf. Open this file in your editor with root privileges: sudo nano /etc/vsftpd/vsftpd.conf We need to adjust some basic parameters in this file to increase security and establish our connection options.
How to Install vsftpd (ftp server) on CentOS 8 / RHEL 8
The Very Secure FTP Daemon ( vsftpd) is designed from the ground up to be fast, stable, and, most importantly, secure. vsftpd is the only stand-alone FTP server distributed with Red Hat Enterprise Linux, due to its ability to handle large numbers of connections efficiently and securely. The security model used by vsftpd has three primary aspects:
How to Setup FTP Server with VSFTPD on CentOS 8 LowEndBox
This tutorial provides readers with instructions on how to install and configure a VSFTPD ftp server on a RHEL 8 / CentOS 8 server. This guide will first start with a basic default configuration on top of which we will add secure TLS configuration, anonymous access and passive mode configuration. In this tutorial you will learn:

How To Install A VSFTPD FTP Server On CentOS 7 devopszones
Centos 5.x Centos 6.x Requirements Explanation of requirements. Root access to your server Server running Centos 5.x or 6.x Doing the Work Basic description of what will be done and what is expected. Install VSftpd and add a user: 1 2 3 yum install vsftpd useradd ftpuser passwd ftpuser Configure VSftpd:

Install & Configure Vsftpd Server on CentOS/RHEL 6x
To enable root user in vsftpd, remove root from /etc/vsftpd/ftpusers and /etc/vsftpd/user_list and restart it ( systemctl restart vsftpd ). I've now verified it all works: I've installed vsftpd in CentOS 7 in default configuration (haven't changed a thing) in VirtualBox. SeLinux is left on by default as well ( enforcing ),
How to Setup & Install an FTP Server With VSFTPD on CentOS 7
Vsftpd (Very Secure FTP Daemon) is an FTP server for UNIX-like systems, including CentOS / RHEL / Fedora and other Linux distributions. It supports IPv6, SSL, locking users to their home directories and many other advanced features. In this guide you will learn: Setup vsftpd to provide FTP service. Configure vsftpd. Configure Firewalls to protect the FTP server. Configure vsftpd with SSL/TLS.

How to Install vsftpd Server on CentOS / RHEL Computer How To
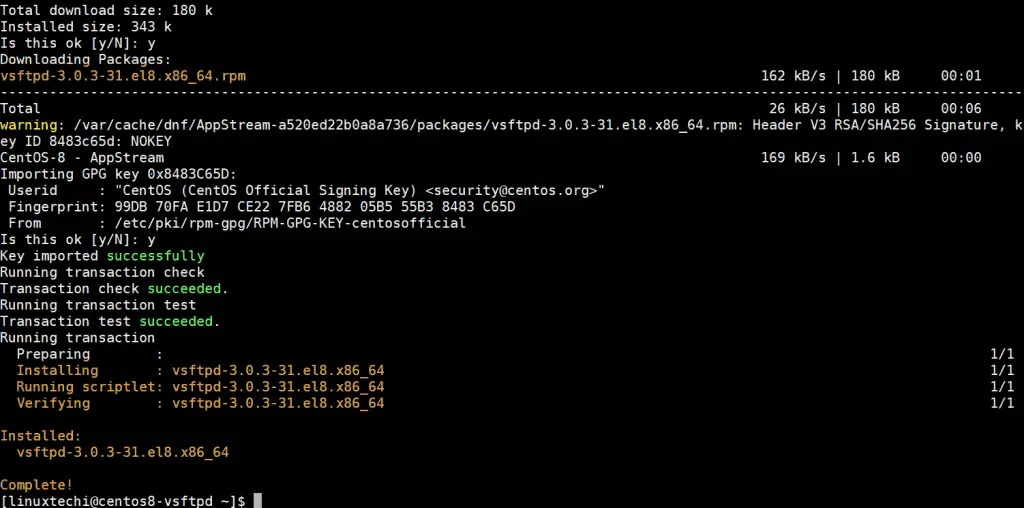
It enforces secure connections to FTP servers by encrypting traffic send to and from the server, and by so doing, the file transfer is kept safe and secure from hackers. In this topic, we shine the spotlight on the installation of vsftpd on CentOS 8 / RHEL 8. Table of Contents Step 1) Install vsftpd using dnf command
How to Install vsftpd FTP Server with SSL/TLS on CentOS 8
To install the VSFTPD package on CentOS 8, open up a terminal or connect to your server by SSH as root user and type in the following command: # dnf install -y vsftpd Once the package is installed, start and enable the VSFTPD service by using the following command: # systemctl enable vsftpd # systemctl start vsftpd
centos 7下vsftpd配置ftp服务安装 菜鸟之志
How to Install and Configure vsftpd on CentOS 7 Posted on December 5, 2017 by David Singer | Updated: March 8, 2021 Category: Technical Support | Tags: CentOS, CentOS 7, FTP, Systemctl, Systemd, VsFTPd Reading Time: 2 minutes FTP (File Transfer Protocol) is one of the most popular methods to upload files to a server.
vsftpd installation on centos 8 YouTube
Install vsftpd and openssl packages on the Centos 7 Linux server $ sudo yum install vsftpd openssl mod_ss. Switch to root user and enter root password. FTP data is usually insecure since information (usernames, passwords, commands, data) is transmitted unencrypted in clear text. Therefore it's very IMPORTANT to encrypt the FTP connection.
How to Install and Configure vsftpd on CentOS 7
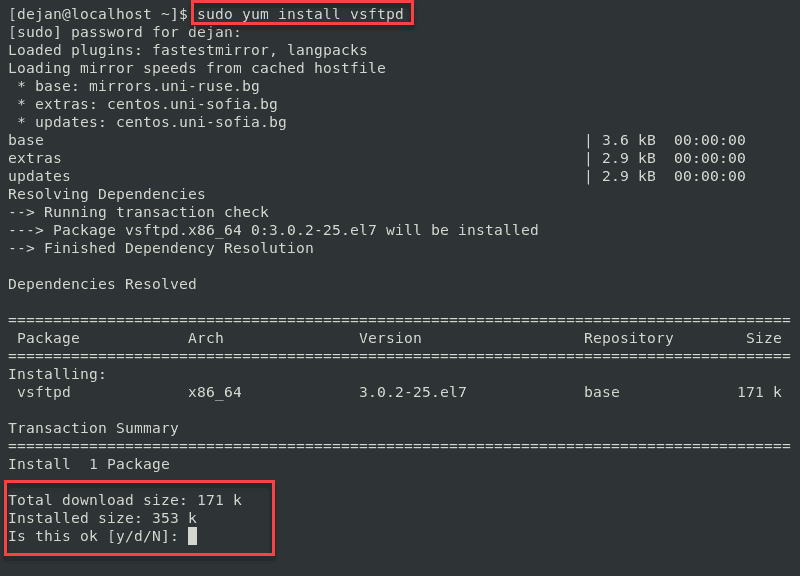
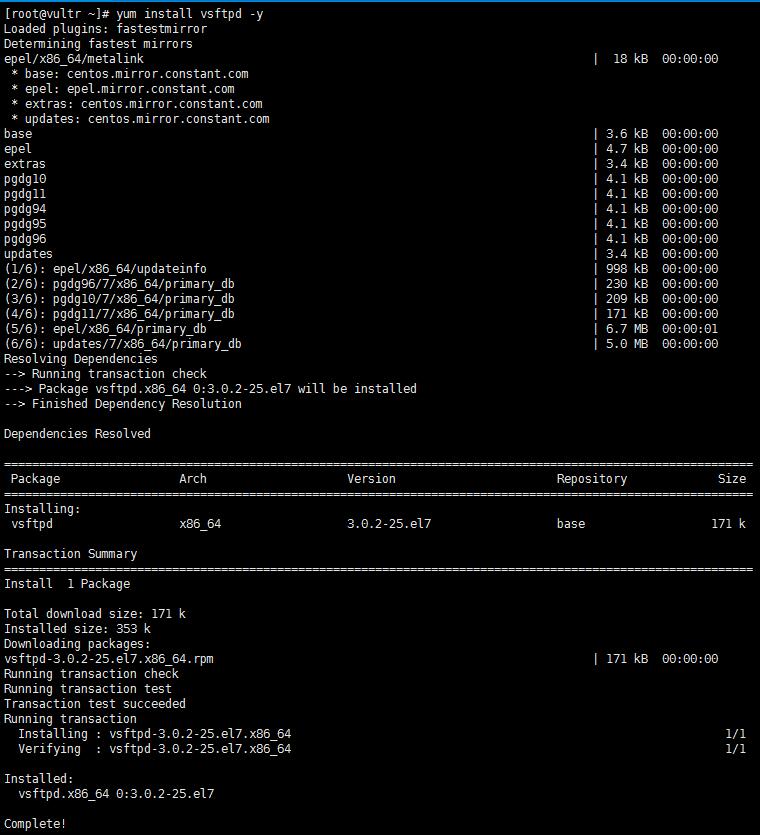
By default vsftpd is available in CentOS / RHEL repository. Just run this command to install vsftpd: sudo yum install vsftpd After installation, start vsftpd using this command: sudo systemctl start vsftpd To automatically start at boot time, we need to run this: sudo systemctl enable vsftpd Now let's check is the vsftpd service running or not:
How to Install vsftpd (ftp server) on CentOS 8 / RHEL 8
1. Start by updating the package manager: sudo yum update Allow the process to complete. This guide uses the VSFTPD (VSFTPD stands for "Very Secure FTP Daemon software package"). It's a relatively easy software utility to use for creating an FTP server. 2. Install VSFTPD software with the following command: sudo yum install vsftpd

How to set up an FTP Server on CentOS 8 using VSFTPD VITUX
Using Virtual Accounts with VSFTPD (Very Secure FTP server) and MySQL on CentOS 5 0.0.1. Advantages of virtual user accounts compared to local users Storing usernames and passwords in a database is easy to maintain, even for local managers not familiar with Unix security models.

How to install and configure vsftpd in Centos and Rhel YouTube
In this tutorial, we'll be installing vsftpd (Very Secure Ftp Daemon) on CentOS 8. It is a stable, secure, and fast FTP server. We'll also show you how to configure vsftpd to restrict users to their home directory and encrypt the data transmission with SSL/TLS. Installing vsftpd on CentOS 8

Setting Up vsftpd Server on CentOS 8
The vsftpd package is available in the default CentOS repositories. To install it, issue the following command: sudo yum install vsftpd Once the package is installed, start the vsftpd daemon and enable it to automatically start at boot time: sudo systemctl start vsftpd sudo systemctl enable vsftpd
How to Install vsftpd FTP Server with SSL/TLS on CentOS 8
Steps to Install and Configure vsFTPd on CentOS 7. Step 1: Install vsFTPd on CentOS. Step 2: Start the vsftpd service and auto start service on boot. Step 3: Install Firewall on CentOS. Step 3: Configure the firewall by creating a rule to all FTP traffic. Step 4: Configure VSFTPD. Step 5: Create an FTP user. Step 6: Configure SELinux to secure.